Hampton Bay Ceiling Fan Instruction Manual: A Comprehensive Guide
Welcome! This detailed manual assists with your new Hampton Bay ceiling fan, offering step-by-step guidance for safe installation, operation, and long-lasting enjoyment.
Understanding Your Hampton Bay Ceiling Fan
Congratulations on choosing a Hampton Bay ceiling fan! These fans are designed to provide both comfort and style to your home. Before beginning installation, it’s crucial to familiarize yourself with the fan’s basic functionality and components.
Hampton Bay offers a diverse range of models, each with unique features, but all share a commitment to quality and performance. This section will provide a general overview applicable to most models. Understanding the different parts – from the motor housing to the blades and light kit – will simplify the installation process.
Proper operation ensures optimal airflow and energy efficiency. We’ll cover speed settings and seasonal adjustments later in this guide, maximizing your fan’s benefits throughout the year.
Fan Components and Identification
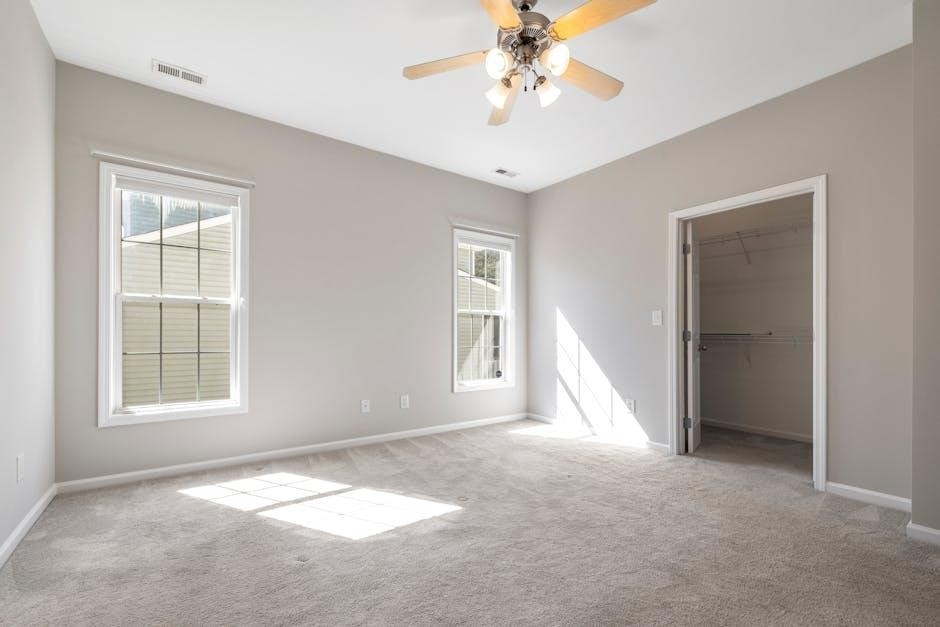
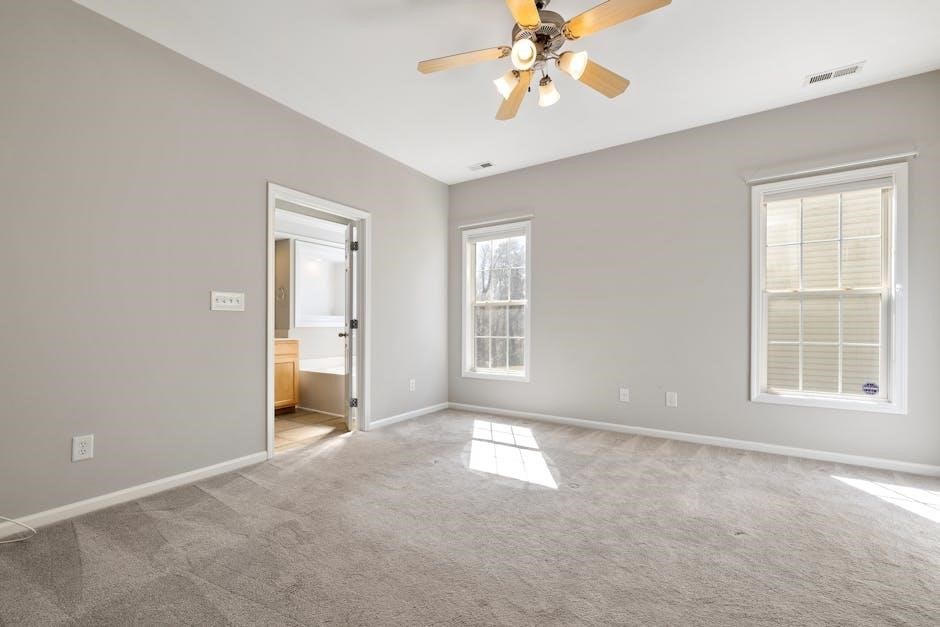
Let’s identify the key parts of your Hampton Bay ceiling fan! The motor housing is the central unit containing the motor. Fan blades, typically 5 or more, are responsible for air circulation. The mounting bracket securely attaches the fan to the ceiling’s electrical box.
You’ll also find a downrod (length varies by ceiling height), a canopy covering the wiring, and a light kit (if included) with its accompanying glass shade and light bulbs.
Pull chains control fan speed and light operation. Some models feature a remote control receiver housed within the canopy. Familiarizing yourself with these components before starting will make assembly smoother and ensure you understand each part’s function.
Safety Precautions Before Installation
Prioritize safety! Always disconnect power at the circuit breaker or fuse box before beginning any installation. Ensure the electrical box is securely mounted and rated to support the fan’s weight – a standard plastic box is often insufficient.
Never work alone; have a helper assist with lifting and securing the fan. Wear safety glasses to protect your eyes. If you’re uncomfortable working with electrical wiring, consult a qualified electrician.
Read all instructions thoroughly before starting. Keep small parts away from children; Do not install the fan near flammable materials or in damp locations unless specifically designed for such environments. Following these precautions will help prevent injury and ensure a safe installation.
Tools Required for Installation
Proper tools are essential! You’ll need a screwdriver set (Phillips and flathead), wire strippers/crimpers, and electrical tape. A voltage tester is crucial for confirming power is off.
A ladder, sturdy enough to safely reach the ceiling, is also required. Pliers can be helpful for bending wires. A measuring tape ensures correct placement of the mounting bracket.
Consider a drill with appropriate bits for securing the bracket to the ceiling joist, if necessary. A wrench set might be needed for tightening certain bolts. Having these tools readily available will streamline the installation process and ensure a secure, professional result.
Installation Process: Step-by-Step
Begin safely! This section details the installation, from electrical box preparation to blade attachment, ensuring a secure and functional ceiling fan setup.
Preparing the Electrical Box
Crucially, ensure your ceiling electrical box is rated to support the weight of the new Hampton Bay ceiling fan. Standard plastic boxes are often insufficient and must be replaced with a fan-rated box, securely mounted to a ceiling joist.
Carefully turn off the power at the circuit breaker before commencing any electrical work. Verify the power is off using a non-contact voltage tester; Inspect the existing wiring for damage or fraying; replace if necessary.
The electrical box should be flush with the ceiling surface. If it isn’t, adjustments may be needed; Confirm adequate space exists around the box for wiring connections. Proper preparation is paramount for a safe and stable installation.
Mounting the Mounting Bracket
Securely attaching the mounting bracket is fundamental for a wobble-free fan. Align the bracket with the pre-drilled holes in the electrical box, ensuring it sits flush against the ceiling. Use the screws provided with the fan – do not reuse old screws.
Tighten the screws firmly, but avoid over-tightening, which could strip the holes or damage the box. Double-check the bracket’s stability by gently tugging on it. It should not move.
For installations onto wooden joists without a pre-existing box, ensure the bracket is directly anchored to a structural member, not just drywall. A properly mounted bracket is the foundation of a safe installation.
Wiring the Fan Motor
Before wiring, ensure the power is completely OFF at the breaker box! Identify the fan’s wires (typically black for hot, white for neutral, and green or bare copper for ground). Connect these to the corresponding wires in the electrical box, using wire connectors.
Match the colors carefully. If your box doesn’t have clearly labeled wires, consult a qualified electrician. Securely twist the wire connectors and gently tug to confirm a firm connection.
Tuck the wires neatly into the electrical box, avoiding any pinching or strain. Improper wiring can cause a fire hazard or fan malfunction, so double-check all connections before proceeding.
Attaching the Fan Blades
Carefully align each fan blade with a motor bracket. Use the screws provided, ensuring they are tightened securely but not over-tightened, which could damage the blade or bracket. Repeat this process for all blades, working systematically around the motor.
Ensure each blade is firmly attached and balanced. A loose blade can cause wobbling and noise during operation. Some models include balancing kits; use these if necessary to fine-tune blade alignment.
Double-check that all screws are snug and that the blades rotate freely without obstruction. Proper blade attachment is crucial for safe and efficient fan performance.
Connecting the Light Kit (If Applicable)
If your model includes a light kit, carefully connect the wiring harness from the light kit to the corresponding wires from the fan motor housing. Typically, this involves matching colors – black to black, white to white, and ground to ground.
Securely attach the light kit to the fan motor using the provided screws. Ensure the connection is firm and stable to prevent the light kit from detaching during operation.
Install the light bulbs according to the kit’s specifications, avoiding exceeding the maximum wattage. Finally, test the light kit to confirm proper functionality before completing the installation.
Operating Your Hampton Bay Ceiling Fan
Enjoy effortless control! Utilize pull chains or the remote (if equipped) to adjust fan speeds and lighting, optimizing comfort throughout the year.
Using the Pull Chains
Simple and reliable control is at your fingertips! Most Hampton Bay ceiling fans feature pull chains for convenient operation. Typically, one chain controls the fan’s power and speed, cycling through low, medium, and high settings, eventually turning the fan off.
A separate pull chain manages the light kit, if your model includes one. A single pull usually turns the light on, while subsequent pulls may cycle through different brightness levels or turn the light off.
Important Note: Always ensure the fan is completely stopped before attempting to change speeds with the pull chain. Gentle, deliberate pulls are recommended to avoid damaging the internal mechanisms. Familiarize yourself with the specific chain functions for your model.
Remote Control Operation (If Applicable)
Enjoy effortless control with your remote! If your Hampton Bay ceiling fan includes a remote, it offers convenient operation from anywhere in the room. The remote typically features buttons for power, fan speed adjustment (low, medium, high), and light control (on/off, dimming).
Some remotes also include a “reverse” function to change the fan’s direction. Initial setup requires pairing the remote with the fan receiver – consult your model-specific instructions for details. Ensure the remote has fresh batteries for optimal performance.
Tip: Keep the remote in a safe place to prevent loss. If the remote becomes unresponsive, try replacing the batteries or re-pairing it with the fan.
Fan Speed Settings Explained
Customize your comfort! Hampton Bay ceiling fans typically offer multiple speed settings to suit your needs. Low speed provides a gentle breeze, ideal for quiet relaxation or energy conservation. Medium speed delivers a noticeable airflow, perfect for general cooling.
High speed maximizes airflow for rapid cooling on warmer days. These speeds are usually controlled via pull chains or a remote control. Experiment with each setting to find the optimal balance between comfort and energy efficiency.
Remember: Higher speeds consume more energy. Consider using lower speeds when possible to reduce electricity costs. Proper speed selection enhances your overall enjoyment of the fan.
Reversing the Fan Direction (Summer/Winter)
Maximize year-round comfort! Your Hampton Bay ceiling fan features a reversible motor for optimal seasonal use. In summer, the counter-clockwise direction creates a downdraft, providing a cooling breeze. This directly impacts perceived temperature, making the room feel cooler.
During winter, switch to the clockwise direction. This creates an updraft, gently circulating warm air trapped near the ceiling. This helps distribute warmth evenly throughout the room, potentially reducing heating costs.
Locate the reverse switch, usually on the motor housing. Changing the direction is simple and significantly improves the fan’s efficiency and your comfort levels throughout the year.
Troubleshooting Common Issues
Don’t worry! This section provides solutions for typical problems like a non-starting fan, wobbling, lighting issues, or a unresponsive remote control.
Fan Doesn’t Start
Initial Checks: First, ensure the power switch to the fan is turned on at the wall. Verify the circuit breaker hasn’t tripped. If using a remote, confirm fresh batteries are installed and properly oriented.
Wiring Inspection: Carefully re-examine the wiring connections within the canopy. Ensure all wires are securely connected using wire connectors, and no bare wires are exposed. A loose connection is a frequent cause.
Pull Chain/Remote Test: If equipped, try operating the fan using the pull chain. If the pull chain works, the issue likely lies with the remote receiver. If neither works, the problem is likely electrical.
Professional Help: If you’ve checked these steps and the fan still doesn’t start, consult a qualified electrician to diagnose and resolve the issue safely.
Fan Wobbles Excessively
Blade Balance is Key: Excessive wobbling often stems from unbalanced blades. Use the included balancing kit – typically small weights – to correct this. Attach a clip to each blade, testing for reduced wobble, then permanently affix the weight.
Blade Screw Tightness: Ensure all blade screws are firmly tightened. Loose screws can cause imbalance and noticeable wobble during operation. Periodically check and tighten as needed.
Mounting Bracket Security: Verify the mounting bracket is securely attached to the ceiling joist. A loose bracket will amplify any imbalance and create significant wobble.
Blade Alignment: Confirm all blades are at the same height from the ceiling. Even slight differences can contribute to wobble. Adjust as necessary for optimal performance.
Light Kit Doesn’t Work
Check the Bulb: The simplest solution is often the correct one! Ensure the light bulb is securely screwed in and hasn’t burned out. Replace with a bulb of the correct wattage, as specified on the fixture.
Wiring Connections: Carefully inspect the wiring connections within the light kit housing. Verify all wires are securely connected and haven’t become loose during installation or vibration.
Pull Chain/Switch Function: Confirm the light kit’s pull chain or wall switch is in the “on” position. Sometimes, a simple flick is all that’s needed.
Remote Control Pairing: If using a remote, ensure the light kit is properly paired with the remote control. Refer to the remote control’s instructions for pairing procedures.
Remote Control Not Responding
Battery Check: Begin by replacing the batteries in the remote control with fresh ones. Low battery power is a common cause of remote malfunction. Ensure correct polarity during installation.
Pairing Procedure: The remote may need to be re-paired with the fan receiver. Consult your fan’s specific manual for the pairing process, which usually involves turning the fan power on and off in a specific sequence.
Signal Interference: Other electronic devices can sometimes interfere with the remote’s signal. Try moving closer to the fan or eliminating potential sources of interference.
Receiver Issues: If pairing fails, the receiver within the fan canopy might be faulty. Contact Hampton Bay customer support for assistance or potential replacement.
Maintenance and Care
Regular upkeep ensures optimal performance and longevity. Periodically clean blades, tighten connections, and, if needed, lubricate motor components for smooth operation.
Cleaning the Fan Blades
Dust accumulation on your Hampton Bay ceiling fan blades can significantly reduce airflow and efficiency. To clean, always turn off the fan and ensure it’s completely stopped before beginning. Use a soft brush or microfiber cloth to gently wipe each blade, starting from the base and moving towards the tip.
For stubborn dirt, lightly dampen the cloth with a mild cleaning solution – avoid harsh chemicals or abrasive cleaners, as these can damage the blade finish. You can also use a pillowcase over each blade to trap dust as you wipe.
Safety First: Never spray liquid directly onto the fan motor or electrical components. Regularly cleaning your fan blades (at least seasonally) will maintain optimal performance and extend the life of your Hampton Bay ceiling fan.
Tightening Loose Screws
Regularly inspect your Hampton Bay ceiling fan for any loose screws. Vibration during operation can cause screws to loosen over time, potentially leading to wobbling or even safety hazards. Turn off the fan before performing any maintenance.
Check the screws securing the blades to the blade holders, the blade holders to the motor, the mounting bracket to the ceiling electrical box, and the light kit (if applicable). Use a screwdriver of the appropriate size and type to gently tighten any loose screws.
Avoid over-tightening, as this could strip the screw holes. A quick check every six months will help ensure your fan remains securely installed and operates smoothly. Prioritize safety and stability!
Lubrication (If Required)
Most modern Hampton Bay ceiling fans are sealed and do not require regular lubrication. However, some older models may have oil ports for the motor bearings. If your fan has these ports, lubrication may be necessary if you notice excessive noise or slow operation.
Use only a lightweight, non-detergent electric motor oil specifically designed for ceiling fans. Apply a few drops into each oil port, following the manufacturer’s instructions (if available). Avoid over-lubrication, as this can attract dust and grime.
If you are unsure whether your fan requires lubrication or how to perform it, consult the model-specific manual or contact Hampton Bay customer support for assistance. Improper lubrication can damage the motor.
Hampton Bay Fan Model Variations
Hampton Bay offers diverse fan models with unique features and designs. Identifying your specific model number is crucial for accessing the correct resources.
Identifying Your Specific Model Number
Locating your Hampton Bay ceiling fan’s model number is the first step towards accessing tailored support and documentation. The model number is typically found on a sticker affixed directly to the fan’s motor housing. This sticker is often located on the top portion of the motor, requiring you to carefully look upwards after installation, or on the original packaging if you still have it.
Alternatively, the model number might be printed on the product’s information sheet included within the box. It’s a combination of letters and numbers, uniquely identifying your specific fan version. Having this number readily available will streamline your search for model-specific manuals, parts, and troubleshooting advice online or when contacting customer support. Accurate identification ensures you receive the correct assistance for your fan.
Accessing Model-Specific Manuals Online
Hampton Bay provides a comprehensive online resource for accessing manuals specific to your ceiling fan model. Begin by visiting the official Hampton Bay website or searching through major retailer websites like Home Depot, where Hampton Bay products are commonly sold. Utilize the search bar and enter your fan’s precise model number – this is crucial for accurate results.
Many websites offer downloadable PDF versions of the instruction manuals, allowing you to easily save and print them for future reference. Furthermore, some sites feature interactive manuals with diagrams and videos. If you encounter difficulties locating your manual, consider contacting Hampton Bay’s customer support team directly; they can often provide a direct link or email the manual to you.
Common Differences Between Models
Hampton Bay ceiling fans exhibit variations across models, primarily in features and control systems. Some models feature integrated LED light kits with adjustable brightness and color temperature, while others utilize traditional bulb sockets. Remote control functionality differs; basic models use pull chains, while advanced versions offer remote operation with speed and light control.
Blade designs also vary significantly, impacting airflow and aesthetic appeal. Motor sizes and energy efficiency ratings can differ, influencing operating costs. Mounting options – flush mount versus downrod – are model-specific; Always consult your model’s manual for precise specifications and installation instructions, as these differences can affect the installation process and optimal performance.

Warranty Information
Hampton Bay provides a warranty covering defects in materials and workmanship. Review your specific model’s documentation for duration and claim procedures.
Understanding Your Warranty Coverage
Your Hampton Bay ceiling fan warranty typically covers defects in materials and workmanship under normal use for a specified period. This generally begins from the date of purchase, so retain your receipt as proof. The warranty doesn’t cover issues arising from improper installation, misuse, accidents, or modifications.
Coverage usually includes replacement parts or, at Hampton Bay’s discretion, a replacement fan. Labor costs for repair or replacement are often excluded. Damage caused by power surges or acts of nature are also typically not covered. Carefully review the full warranty document included with your fan for precise details, limitations, and exclusions. Registering your product online can streamline the claims process.
How to File a Warranty Claim
To initiate a warranty claim for your Hampton Bay ceiling fan, first gather your original purchase receipt or proof of purchase, along with the fan’s model number and date of installation. Contact Hampton Bay Customer Support – details are provided in the warranty documentation and online.
You may be asked to provide photos or videos demonstrating the defect. Be prepared to describe the issue clearly and concisely. Hampton Bay will likely issue a Return Merchandise Authorization (RMA) number if the claim is approved. Follow their instructions for returning the defective part or fan. Shipping costs may or may not be covered, depending on the warranty terms.
Contacting Hampton Bay Customer Support
For assistance with your Hampton Bay ceiling fan, several avenues are available. You can reach them via phone at 1-800-443-2238, typically available during standard business hours, Monday through Friday. Alternatively, explore the comprehensive support section on the Home Depot website – as Hampton Bay is a Home Depot exclusive brand – for FAQs, troubleshooting guides, and online chat options.
Email support may also be accessible through the website. When contacting support, have your model number and purchase information ready to expedite the process. Be prepared to clearly describe your issue or question for efficient assistance from a knowledgeable representative.